
Introduction
After I purchased the new computer for the golf cart, I have been looking for a place to put the computer and batteries. I drew inspirations from other projects and other golf carts, and eventually landed on this plan: build a wooden cargo box.
Here is an example of a cargo box for a golf cart.

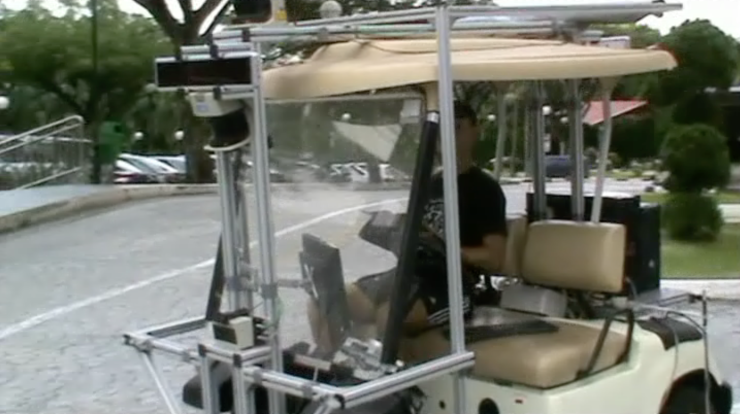
This is the MIT self-driving golf cart. If you look carefully, the rear of the cart as a platform with computers on it. I was inspired by the hardware design of MIT. My box will be very different from that of MIT’s, but it will serve the same purpose. And of course, the MIT project was much more robust and successful. However, my approach is very different from MIT’s. I focus on deep learning and computer vision technologies, instead of lidars or radars.
Building the Cargo Box
Mr. Thiel, a teacher and friend of mine, helped me to build this box. He is a very talented designer and carpenter, with a well-equipped workshop. He and I spend a Saturday morning together, planning and building this box.
We started by sketching out the plan for the box. Here is the first iteration of the plan.

I did some basic measurements on the vehicle and these are some of the dimensions. Once we got the materials, we realized that the design above is unnecessarily big. We then reduced the length of the box to ~28 inches.

Using Mr. Thiel’s table saw, we quickly cut all the pieces that we needed. We stroke to eliminate waste and fully utilities our supply.

In order to mount the box on the golf cart, we needed to build two brackets that hold the box in place. Since Mr. Thiel is a professional at this, he made two mounting brackets with a jigsaw in no time.
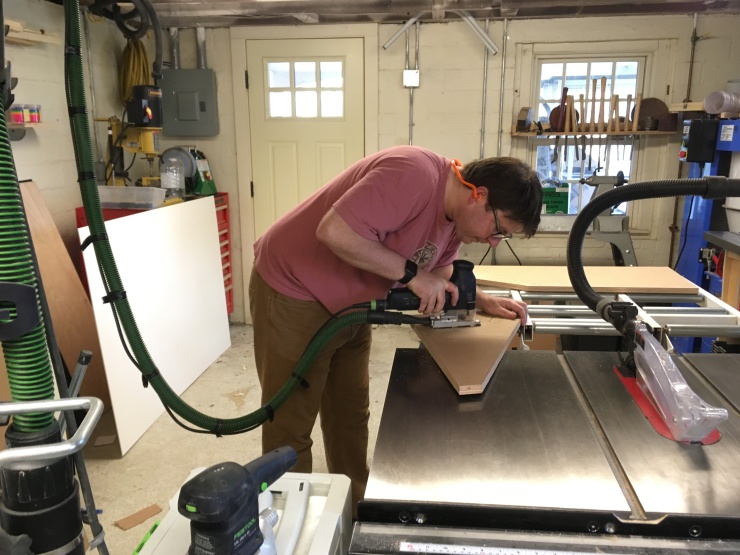
While Mr. Thiel is busying make the brackets, I began assembling all the pieces together. This is a very repetitive and intuitive process. Screws and glue are our friends.


Conclusion
At this point, most of the heavy lifting is done. The next step is to mount the box on the cart. Since the mounting points are on the metal frame, I would need to drill four holes in the steel structure. For more details on that and the end product, please refer to part two of this series.
Thanks for reading. If you have questions, comments or concerns, please contact me @ contact@neilnie.com

7 replies on “Building a Cargo Box for the Golf Cart (Part 1)”